
Submitted ByEdit Dates
Date Uploaded: January 24, 2014, 12:48 am Last Edited: December 21, 2015, 4:24 am |
 Add to Add toSite Favourites Print this Article |
Back to Work Tutorial
Article © MAIL User: Flutter
Back to Work
I am using all 16g SWG 1/4" BA rings for the tutorial here, with an AR around 4. The weave works with bigger ARs, just a little looser.
So here we go ...
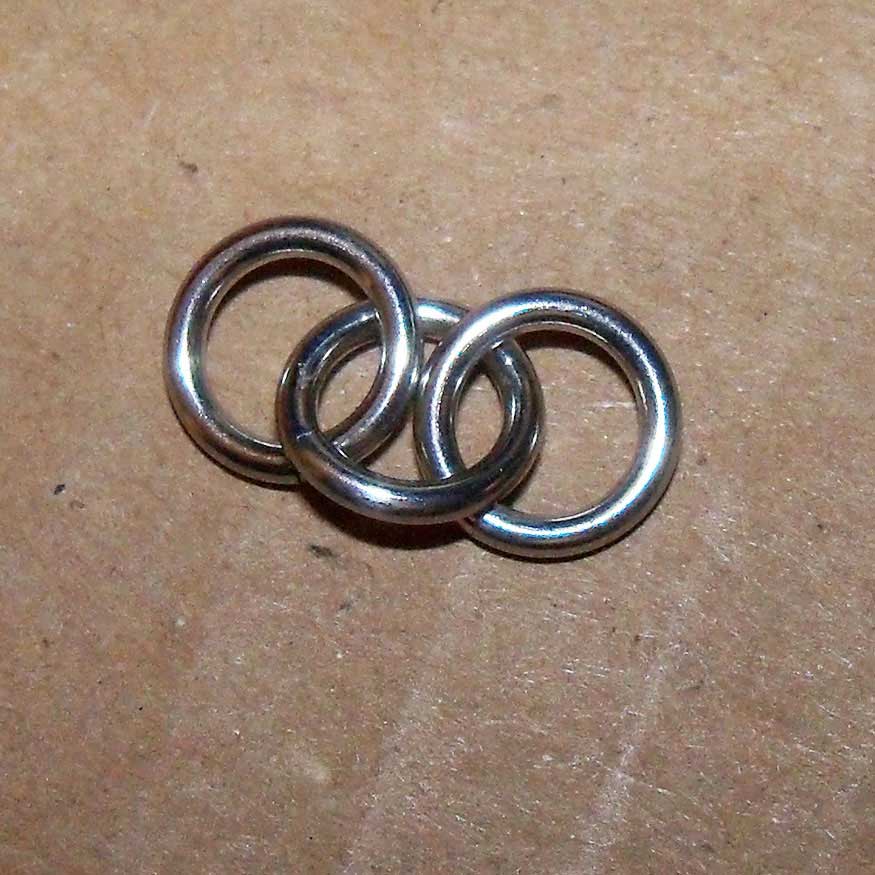
First put 2 rings on 1 like so -
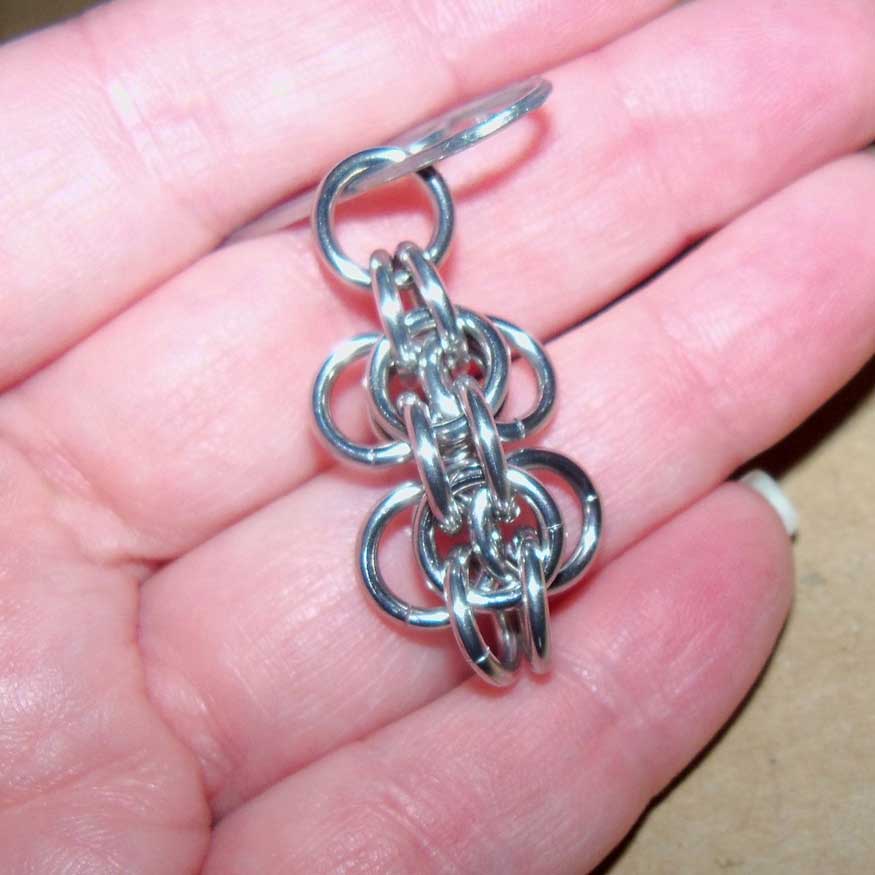
Next put a paper clip (or wire tie or whatever you like) in the middle ring like so -
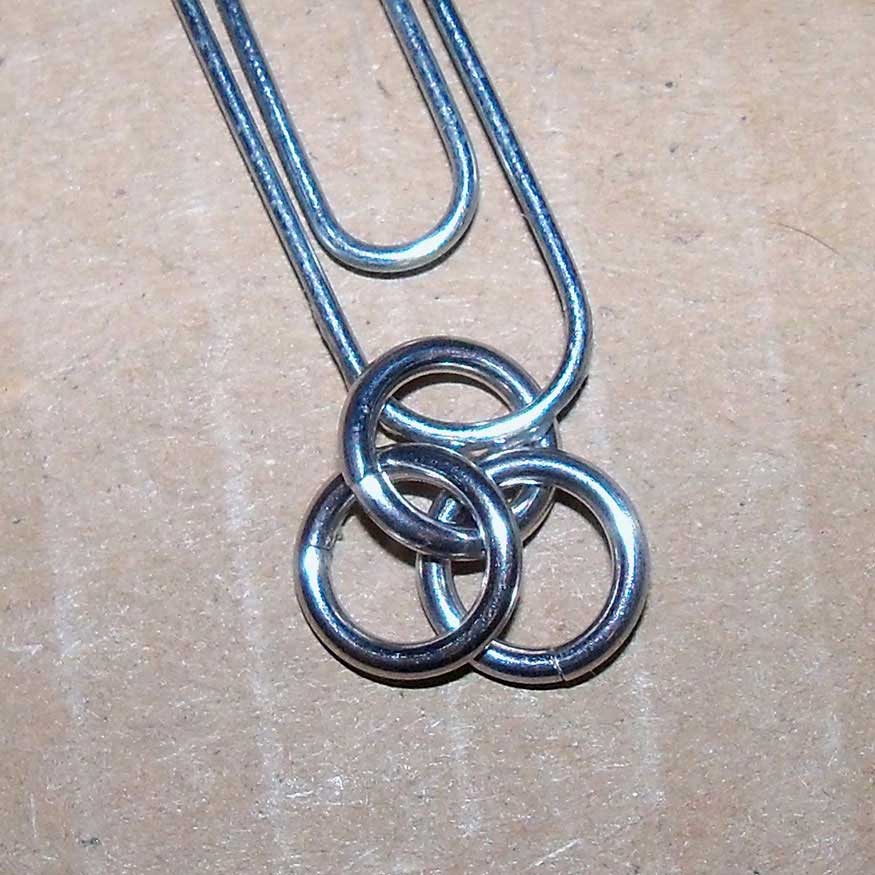
In the next step you will add a single ring through both of the bottom 2 rings as shown here -
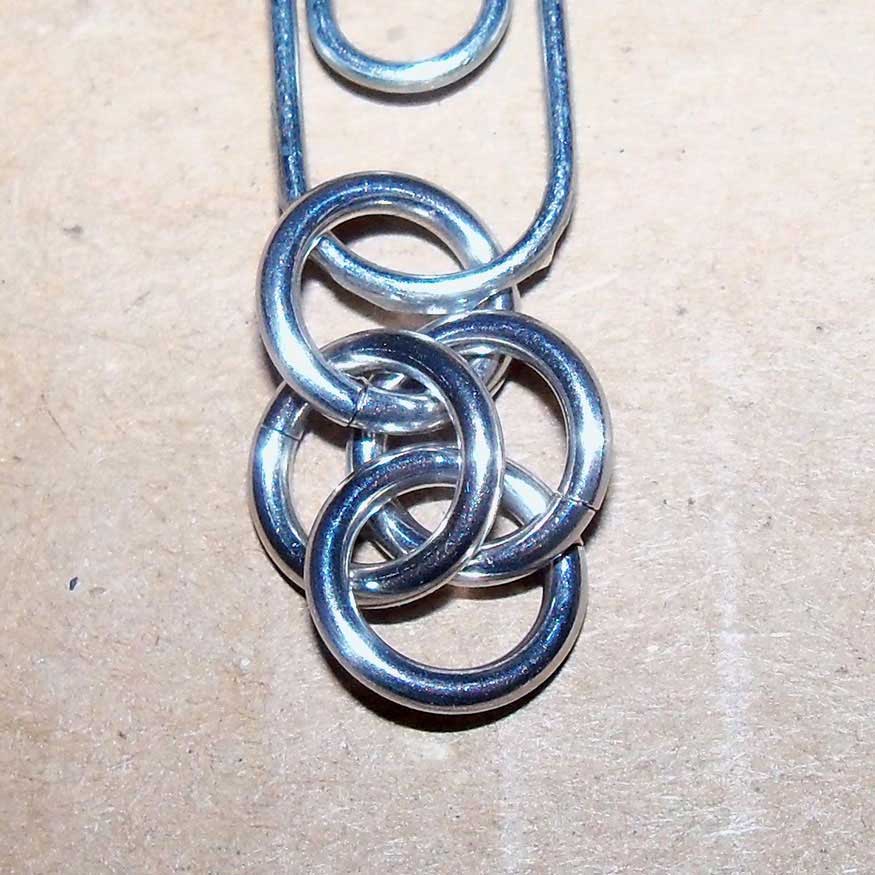
Then add a ring onto each of the rings that you added the last ring to (separately), the ring from the previous step will be in front on these new rings -
You will add another single ring behind the ones from the last step, then put new rings through each of the eyes you created. Your piece should look like this now -
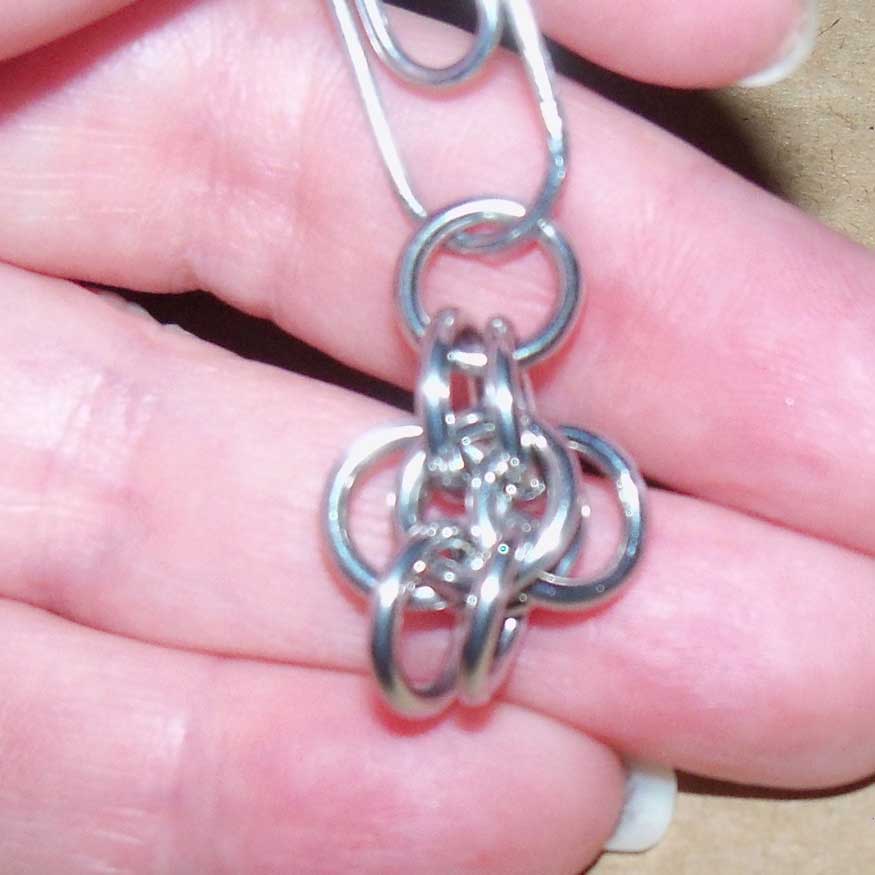
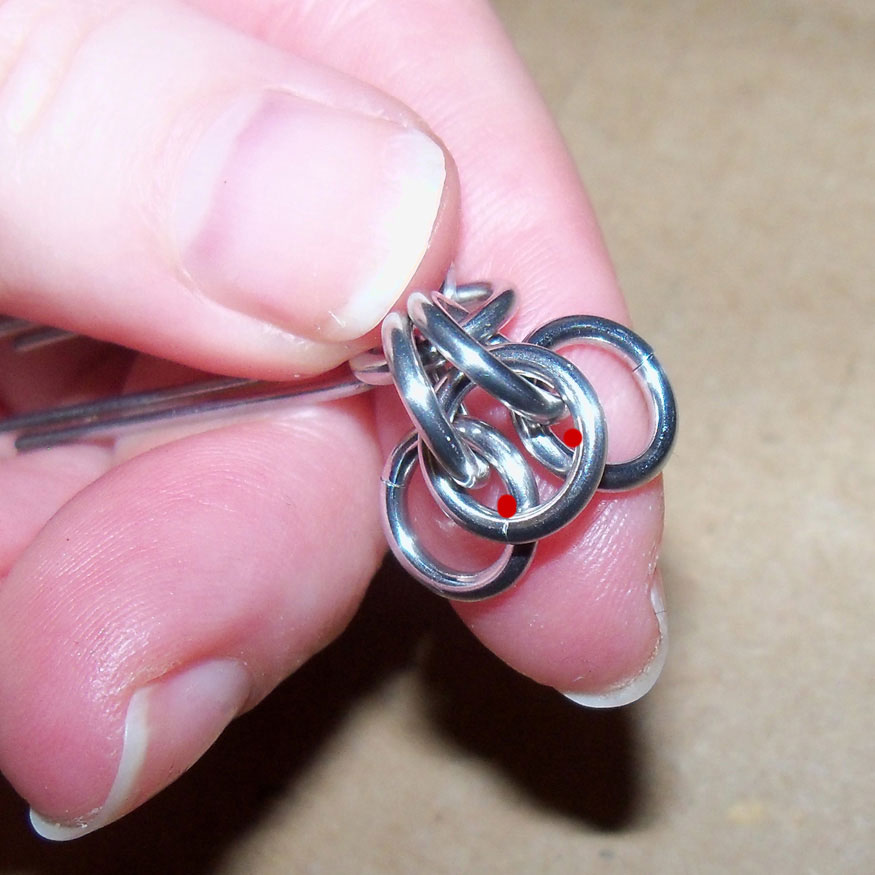
Moving on; add a single ring to the 2 from the last step -
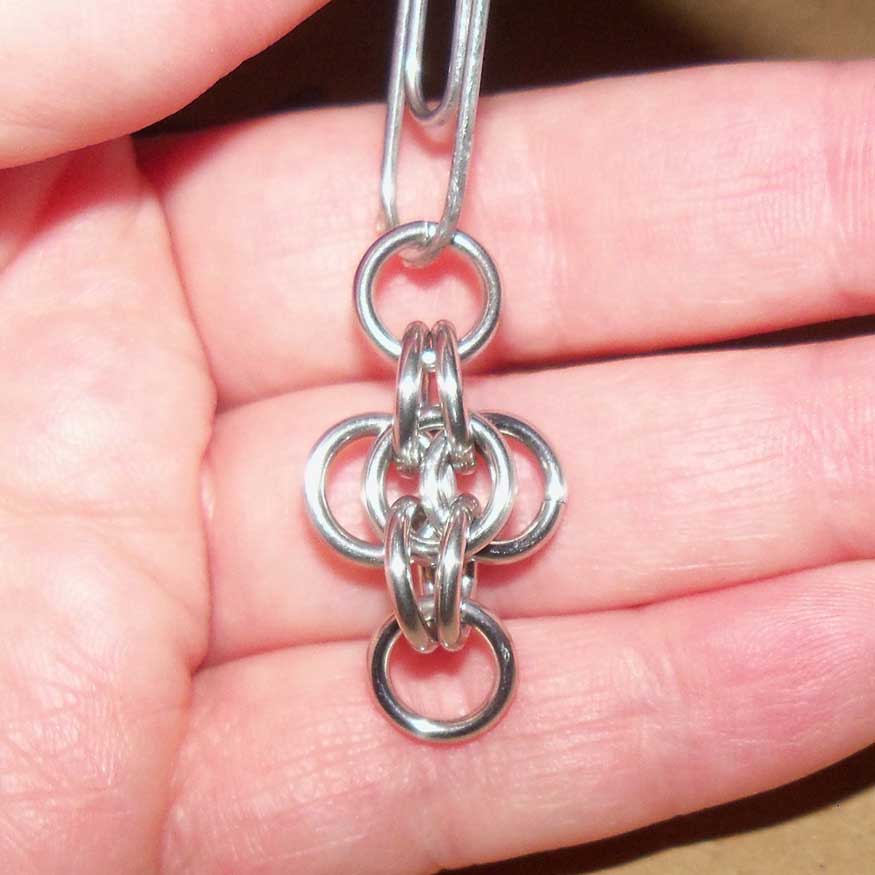
Add 2 rings to each of the two that you added the single ring to in the last step (same as you did before). The single ring is behind the others here -
Put another ring in the front now -
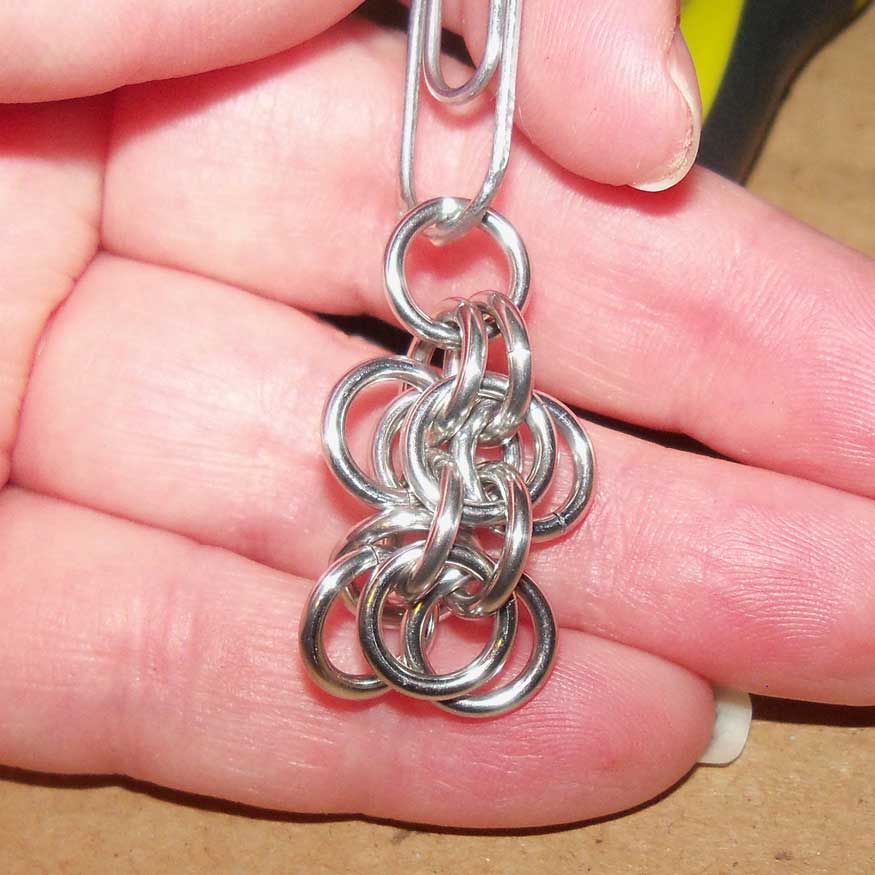
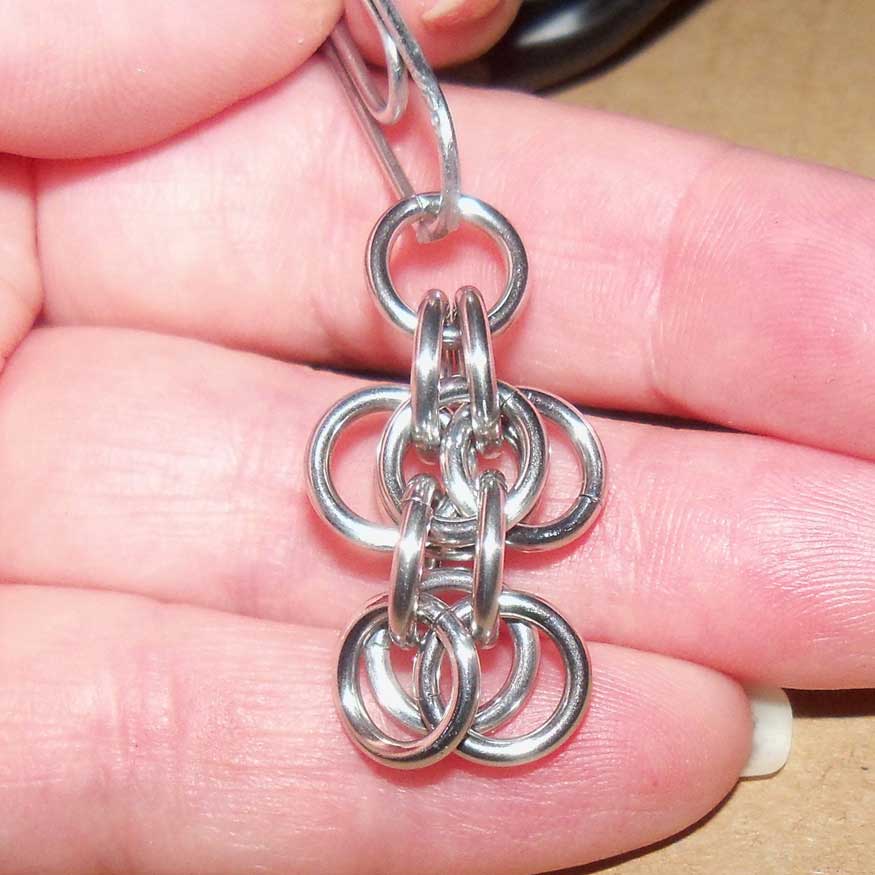
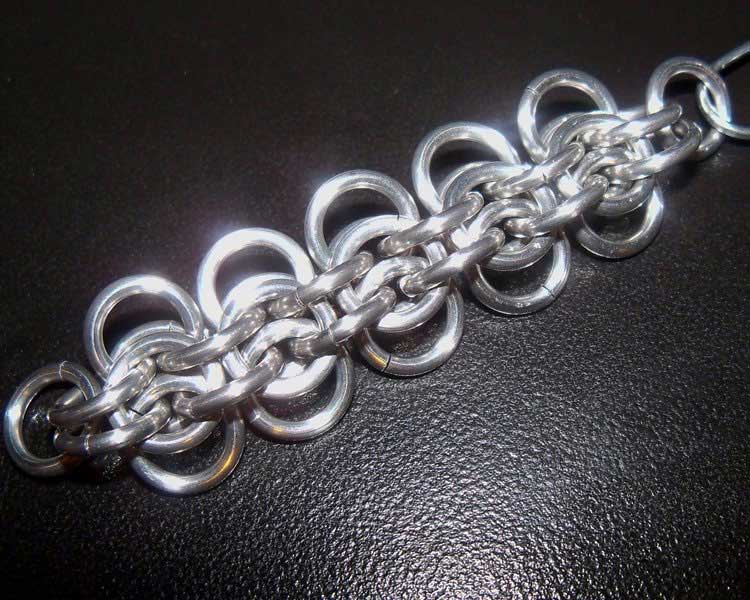
Add 2 rings through each of the eyes you have created again; you should have something like this -
Repeat these steps until your piece is as long as you want it.
I hope this was helpful. Feel free to PM me if you have any questions :)
I am using all 16g SWG 1/4" BA rings for the tutorial here, with an AR around 4. The weave works with bigger ARs, just a little looser.
So here we go ...
First put 2 rings on 1 like so -
Next put a paper clip (or wire tie or whatever you like) in the middle ring like so -
In the next step you will add a single ring through both of the bottom 2 rings as shown here -
Then add a ring onto each of the rings that you added the last ring to (separately), the ring from the previous step will be in front on these new rings -
You will add another single ring behind the ones from the last step, then put new rings through each of the eyes you created. Your piece should look like this now -
Moving on; add a single ring to the 2 from the last step -
Add 2 rings to each of the two that you added the single ring to in the last step (same as you did before). The single ring is behind the others here -
Put another ring in the front now -
Add 2 rings through each of the eyes you have created again; you should have something like this -
Repeat these steps until your piece is as long as you want it.
I hope this was helpful. Feel free to PM me if you have any questions :)
Original URL: http://www.mailleartisans.org/articles/articledisplay.php?key=685
